告警通知跳出來了,然後呢?如果收到告警的人不知道要做什麼、不知道影響範圍、甚至不知道這是真的還是誤報——那這個告警就只是噪音。
先講結論
Webhook 是把告警從「訊號」變成「行動」的橋梁。它讓告警不只是跳一則 Slack 訊息,而是能自動建工單、觸發修復腳本、串接 on-call 系統。但 Webhook 本身也是一個服務——如果它掛了,你的告警就全部消失了。所以 Webhook receiver 的可靠性跟你的監控系統一樣重要。
告警流的完整鏈路
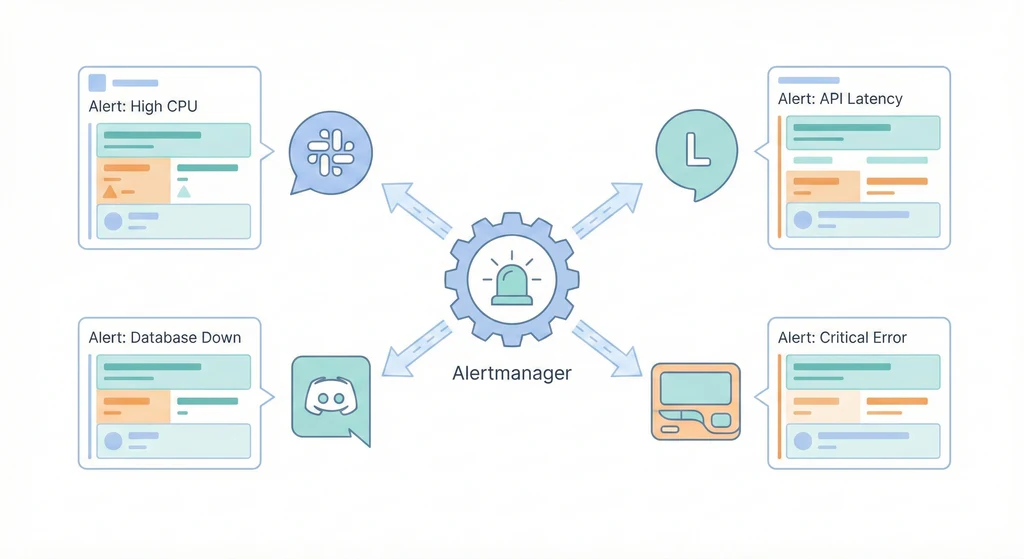
大部分人只想到「Prometheus 發告警 → Slack 收通知」,但完整的告警流應該是:
Prometheus 發現異常 → Alertmanager 做分組跟路由 → Webhook receiver 接收 → 格式化後發到 ChatOps → 同時建立 incident ticket → 嚴重的話觸發自動修復
# alertmanager.yml
receivers:
  - name: 'webhook-receiver'
    webhook_configs:
      - url: 'https://hooks.example.com/alert'
        send_resolved: true
        http_config:
          bearer_token: '${WEBHOOK_TOKEN}'
send_resolved: true 很重要——告警恢復的時候也要通知,不然值班的人不知道問題已經解決了。
Webhook Payload 該帶什麼
告警訊息如果只有「Something is wrong」,那跟沒告一樣。一個好的 Webhook payload 至少要有:
alertname——什麼告警severity——多嚴重summary——一句話說明問題environment——哪個環境runbook_url——處理步驟的連結
function formatSlack(alert) {
  return {
    text: `[${alert.labels.severity}] ${alert.labels.alertname}`,
    blocks: [
      { type: 'section', text: { type: 'mrkdwn', text: `*${alert.annotations.summary}*` } },
      { type: 'section', text: { type: 'mrkdwn', text: `Env: ${alert.labels.environment}` } },
      { type: 'section', text: { type: 'mrkdwn', text: `Runbook: ${alert.annotations.runbook_url}` } },
    ]
  }
}
沒有 runbook 的告警就像一封沒有回覆地址的求救信。
冪等性:最容易被忘記的設計
Alertmanager 在 Webhook 回應失敗時會重試。如果你的 receiver 每次收到告警都建一張 Jira ticket,重試三次就建了三張。
解法是在 receiver 端做 deduplication:用 alertname + instance + startsAt 當 key,同一個 key 只建一次工單。
重試造成重複事件是 Webhook 整合最常見的 bug,而且通常要到告警爆發的時候才會被發現。
自動修復要謹慎
有些告警是可以自動處理的——服務掛了就重啟、磁碟快滿就清 log、流量突增就暫時擴容。
curl -X POST https://ops.example.com/remediate \
  -H "Authorization: Bearer $TOKEN" \
  -d '{"action":"restart","service":"api"}'
但自動修復有一個陷阱:如果根因沒解決,自動修復會變成自動掩蓋問題。服務一直 crash 然後一直被重啟,你的告警顯示「已恢復」,但其實底層一直在燒。
自動修復可以做,但每次觸發都要記錄,而且要有上限。 同一個問題自動修復超過三次就該升級給人類處理。
Webhook Receiver 本身也要監控
這是最容易被忽略的點:你的告警系統依賴 Webhook receiver,但 Webhook receiver 誰在監控?
必做的事:
- Receiver 回應時間 < 1 秒
- Receiver 有自己的 healthcheck
- Receiver 掛了要有獨立的告警管道(不能走同一個 Webhook)
- 支援排隊跟降級
監控你的監控,這不是繞口令,是真的。
延伸閱讀
告警系統最理想的狀態是:它安靜地跑著,你幾乎忘了它的存在。但當它叫的時候,你知道這次是真的。