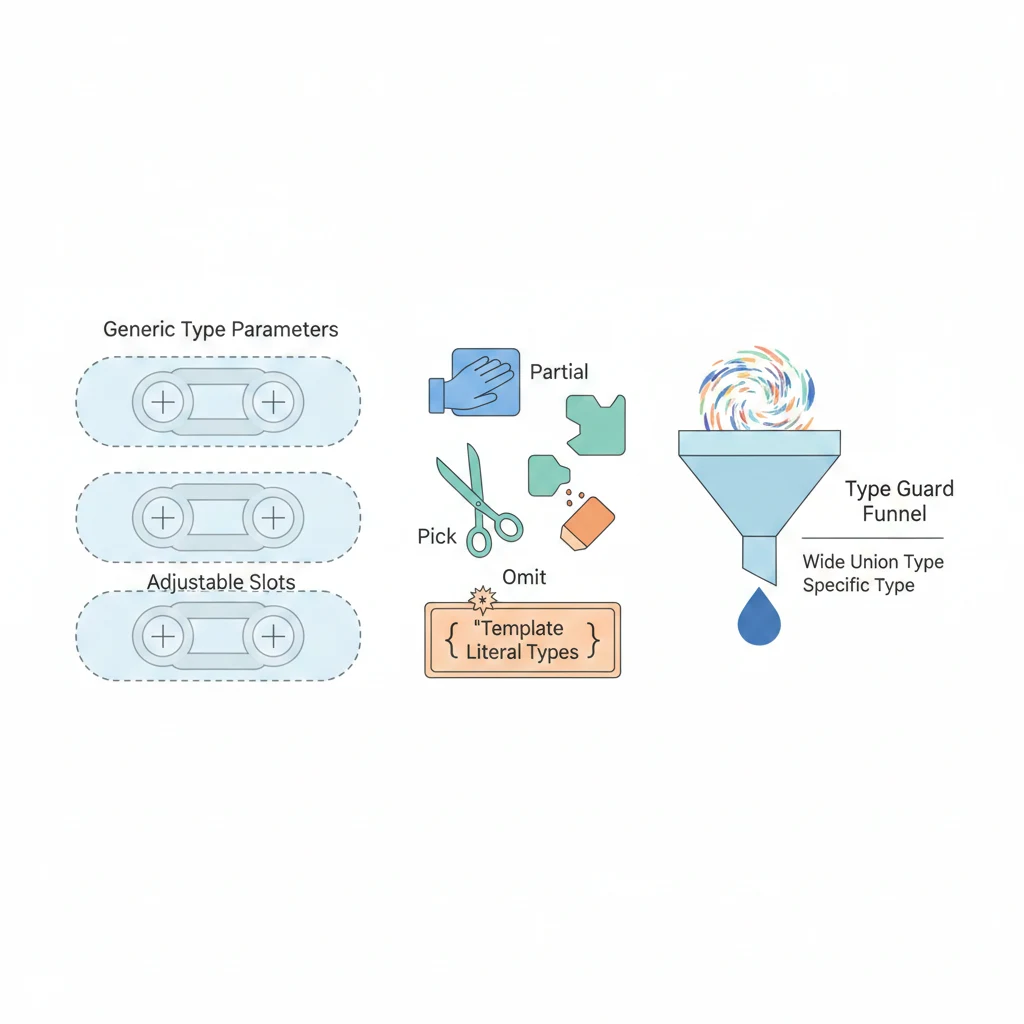
一句話:Conditional Types 讓型別根據條件自動變化,搭配 Mapped Types 可以批次產生型別。
先講結論
如果泛型是「讓函式適用多種型別」,那 Conditional Types 就是「讓型別根據條件自動變化」。這聽起來很學術,但實際場景超常見——根據 event name 自動推導 payload 型別、從函式簽名裡擷取參數型別、自動從表單 interface 產生驗證 schema。
這篇是系列的最後一篇,會把前面學的東西全部串起來。
Conditional Types:型別裡的 if-else
根據 input 自動推導 output
type EventPayload<E extends string> =
  E extends "click"    ? { x: number; y: number } :
  E extends "keypress" ? { key: string; code: string } :
  E extends "submit"   ? { formData: FormData } :
  never;

function on<E extends "click" | "keypress" | "submit">(
  event: E,
  handler: (payload: EventPayload<E>) => void
) { /* ... */ }

on("click", (payload) => {
  console.log(payload.x, payload.y);  // TS 自動知道是 { x, y }
});

on("keypress", (payload) => {
  console.log(payload.key);  // TS 自動知道是 { key, code }
});
你不用手動指定 payload 型別,TypeScript 根據你傳的 event name 自動推導。這就是 Conditional Types 的威力。
infer——型別版的正則 capture group
infer 讓你在 conditional type 裡面「擷取」型別的某一部分。聽起來很抽象?看例子就懂了:
// 解開 Promise 包裝
type UnwrapPromise<T> = T extends Promise<infer U> ? U : T;

type A = UnwrapPromise<Promise<string>>;    // string
type B = UnwrapPromise<Promise<number[]>>;  // number[]
type C = UnwrapPromise<string>;             // string(不是 Promise 就原樣回傳)

// 取得函式的第一個參數型別
type FirstParam<F> = F extends (first: infer P, ...rest: any[]) => any ? P : never;

type D = FirstParam<(name: string, age: number) => void>;  // string

// 取得陣列的元素型別
type ElementOf<T> = T extends (infer E)[] ? E : never;

type F = ElementOf<string[]>;   // string
type G = ElementOf<User[]>;     // User
infer 就像跟 TypeScript 說:「這個位置會有一個型別,幫我記下來叫 U,等一下我要用。」
Mapped Types:批次轉換
Mapped Types 讓你遍歷一個型別的所有 key,然後對每個 key 做轉換。如果 Conditional Types 是 if-else,Mapped Types 就是 for-loop:
// 所有 property 加上 readonly
type MyReadonly<T> = {
  readonly [K in keyof T]: T[K];
};

// 所有 property 可以是 null
type Nullable<T> = {
  [K in keyof T]: T[K] | null;
};

interface User {
  name: string;
  email: string;
  age: number;
}

type NullableUser = Nullable<User>;
// { name: string | null; email: string | null; age: number | null }其實你在第一篇看到的 CamelCaseKeys<T> 就是 Mapped Type——遍歷所有 key,把每個 key 從 snake_case 轉成 camelCase。
實戰:自動產生表單驗證 Schema
最後來一個綜合的例子,把 Mapped Types 和 Conditional Types 結合起來。這是我在實際專案中用過的 pattern:
type ValidationRule<T> = {
  required?: boolean;
  validate?: (value: T) => string | null;
};

// 從表單型別自動產生驗證 schema 的型別
type ValidationSchema<T> = {
  [K in keyof T]: ValidationRule<T[K]>;
};

// 驗證錯誤的型別也自動對齊
type ValidationErrors<T> = {
  [K in keyof T]?: string;
};
用起來長這樣:
interface LoginForm {
  email: string;
  password: string;
  rememberMe: boolean;
}

const loginValidation: ValidationSchema<LoginForm> = {
  email: {
    required: true,
    validate: (value) =>
      /^[^\s@]+@[^\s@]+\.[^\s@]+$/.test(value) ? null : "請輸入有效的 email",
  },
  password: {
    required: true,
    validate: (value) =>
      value.length >= 8 ? null : "密碼至少需要 8 個字元",
  },
  rememberMe: { required: false },
};注意到了嗎?email 的 validate callback 參數自動是 string,rememberMe 的是 boolean。你不用手動標型別,TypeScript 從 LoginForm 的定義自動推導。
驗證函式也是泛型的:
function validate<T extends Record<string, any>>(
  data: T, schema: ValidationSchema<T>
): ValidationErrors<T> {
  const errors: ValidationErrors<T> = {};
  for (const key in schema) {
    const rule = schema[key];
    const value = data[key];
    if (rule.required && !value && value !== false) {
      errors[key] = "此欄位為必填";
      continue;
    }
    if (rule.validate) {
      const error = rule.validate(value);
      if (error) errors[key] = error;
    }
  }
  return errors;
}

const errors = validate(
  { email: "not-an-email", password: "123", rememberMe: false },
  loginValidation
);
// errors.email    → "請輸入有效的 email"
// errors.password → "密碼至少需要 8 個字元"
整個流程的型別都是自動對齊的:表單型別 → 驗證 schema → 錯誤物件,任何一個欄位改名或改型別,其他地方立刻報錯。這才叫型別安全,不是寫 any 然後假裝安全。
什麼時候 TypeScript 的 CP 值最高?
三篇寫下來,最後回答一個問題:到底什麼時候該搬出這些進階功能?
前後端 API 介接——ROI 最高。Template Literal Types 轉命名、Utility Types 做 Pick/Omit、泛型包 API client,三篇學的東西全部用上。
大型專案重構——改了 interface,所有用到的地方立刻報錯。10 萬行的 codebase 改資料結構,有 TypeScript 是安心重構,沒有是祈禱重構。
Library / SDK 開發——你的型別定義就是最好的文件。使用者不用翻文件,IDE 直接告訴他怎麼用。
表單驗證——上面那個例子就是最好的示範。型別自動產生驗證 schema,欄位對齊不用人工檢查。
三篇文章從命名轉換講到自動產生驗證 schema,TypeScript 的型別系統比大多數人想的強大得多。但記住——這些進階功能是用來解決真實問題的,不是用來炫技的。如果 string 就能搞定的事,就別寫 Conditional<Mapped<Infer<...>>> 了。
系列文章
- (一)命名轉換和 Utility Types
- (二)泛型和 Type Guard
- (三)Conditional Types 與實戰整合(本篇)