一句話:TypeScript 的型別系統不只是檢查工具,它本身就是一套程式語言。
先講結論
如果你已經看過 為什麼要用 TypeScript 和 基本型別,恭喜你已經會宣告型別了。但說實話,光會宣告型別就像買了一台跑車卻只開到便利商店——TypeScript 的真正威力在型別層級的自動化。
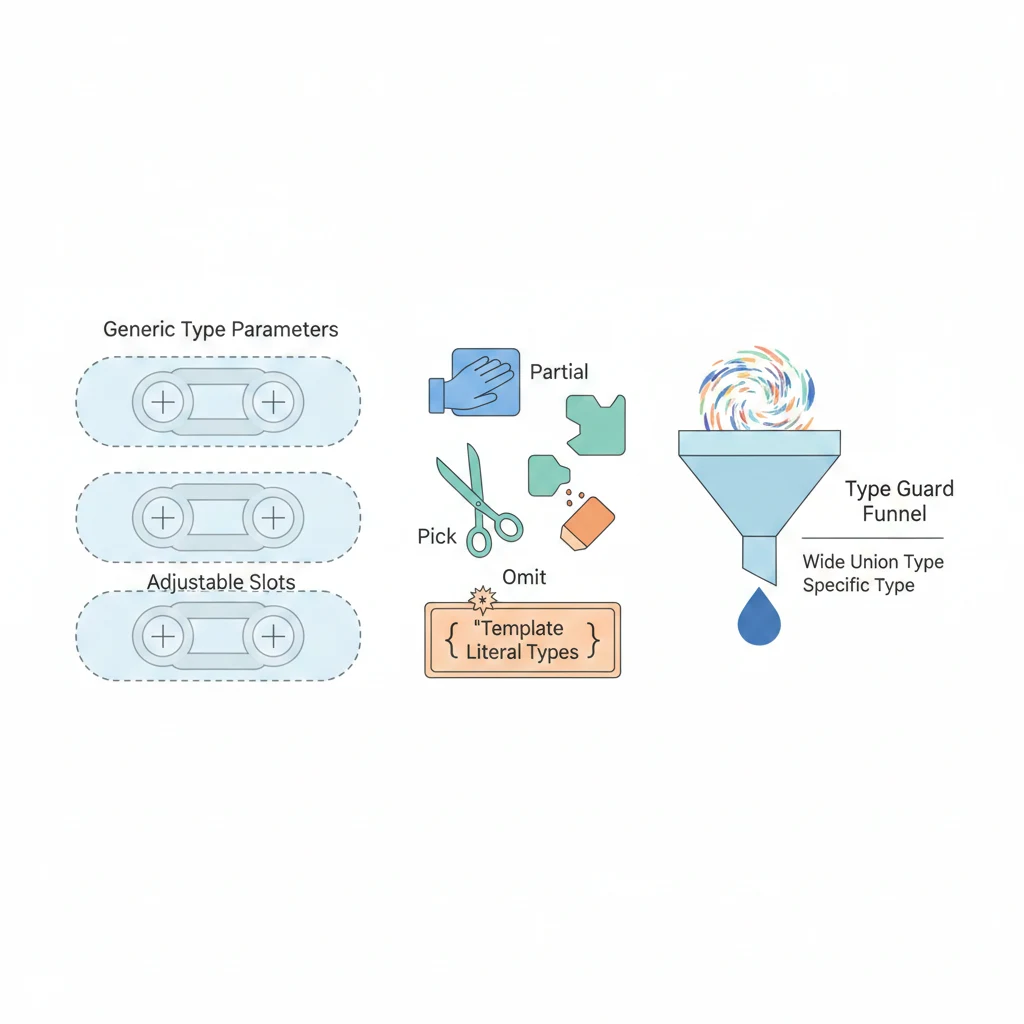
這篇講兩件事:用 Template Literal Types 解決前後端命名不同步,以及用 Utility Types 少寫一堆重複型別。
命名轉換:snake_case 跟 camelCase 的恩怨
你有沒有遇過前端明明傳了正確的 key,後端卻說「找不到這個欄位」?八成是 camelCase 和 snake_case 的問題。後端(特別是 Python)愛用底線,前端 JavaScript 世界用駝峰。每次串 API 都手動轉?太蠢了。
TypeScript 的 Template Literal Types 可以在型別層級幫你做這件事:
// 型別裡面可以「組合」字串,就像 template string
type Greeting = `Hello, ${string}`;
// "Hello, Alice"、"Hello, 你好" 都合法

// 內建四個字串轉換
type A = Uppercase<"hello">;     // "HELLO"
type B = Lowercase<"HELLO">;     // "hello"
type C = Capitalize<"hello">;    // "Hello"
type D = Uncapitalize<"Hello">;  // "hello"
實戰:snake_case 轉 camelCase
這是你真的會用到的。後端 API 回傳 user_name、created_at,前端想用 userName、createdAt:
type SnakeToCamel<S extends string> =
  S extends `${infer Head}_${infer Tail}`
    ? `${Head}${Capitalize<SnakeToCamel<Tail>>}`
    : S;

type Test1 = SnakeToCamel<"user_name">;       // "userName"
type Test2 = SnakeToCamel<"created_at">;       // "createdAt"
type Test3 = SnakeToCamel<"order_line_item">;  // "orderLineItem"
整個物件的 key 一次轉
光轉一個字串不過癮,把整個 API response 的 key 全部轉成 camelCase:
type CamelCaseKeys<T> = {
  [K in keyof T as K extends string ? SnakeToCamel<K> : K]: T[K];
};

// 後端回的
interface ApiUser {
  user_name: string;
  created_at: string;
  is_active: boolean;
  avatar_url: string | null;
}

// 前端自動產生
type FrontendUser = CamelCaseKeys<ApiUser>;
// { userName: string; createdAt: string; isActive: boolean; avatarUrl: string | null }
你只要維護一份後端的型別定義,前端的型別就自動長出來了。搭配 runtime 的 lodash/camelCase 轉值,型別和值都能對齊。從此不用再跟後端吵誰該轉了。
反過來:camelCase 轉 kebab-case
寫 CSS-in-JS 或 HTML attribute 的時候偶爾需要:
type CamelToKebab<S extends string> =
  S extends `${infer Head}${infer Tail}`
    ? Tail extends Uncapitalize<Tail>
      ? `${Lowercase<Head>}${CamelToKebab<Tail>}`
      : `${Lowercase<Head>}-${CamelToKebab<Tail>}`
    : S;

type Test4 = CamelToKebab<"backgroundColor">;  // "background-color"
type Test5 = CamelToKebab<"borderTopWidth">;    // "border-top-width"
Utility Types:別背字典,看場景
TypeScript 內建一堆 Utility Types,官方文件列出來像字典一樣無聊。這邊不背字典,只告訴你什麼時候該翻哪一頁。
Partial<T>——表單草稿
使用者填到一半的表單,你想存草稿。Partial 讓所有欄位變 optional:
interface UserSettings {
  displayName: string;
  email: string;
  theme: "light" | "dark";
  notifications: boolean;
}

function saveDraft(draft: Partial<UserSettings>) {
  localStorage.setItem("settings-draft", JSON.stringify(draft));
}

saveDraft({ theme: "dark" }); // OK!不用傳完整物件反過來,Required<T> 讓所有 optional 變必填——適合表單驗證通過後、確定所有欄位都有值的場景。
Pick<T, K> / Omit<T, K>——只取需要的
API 回傳 20 個欄位,但你的卡片元件只需要 3 個?別整包丟進去:
interface Product {
  id: string;
  name: string;
  description: string;
  price: number;
  stock: number;
  images: string[];
  createdAt: Date;
  updatedAt: Date;
}

// 卡片只要這幾個
type ProductCardProps = Pick<Product, "id" | "name" | "price" | "images">;

// 建立新產品時,id 和時間戳由後端產生
type ProductFormData = Omit<Product, "id" | "createdAt" | "updatedAt">;口訣:要的少用 Pick,排除少用 Omit。
Record<K, V>——lookup table 專用
一組固定的 key,每個 key 對應同一種結構:
type Lang = "zh-TW" | "en" | "ja";

const translations: Record<Lang, { greeting: string; farewell: string }> = {
  "zh-TW": { greeting: "你好", farewell: "再見" },
  "en":    { greeting: "Hello", farewell: "Goodbye" },
  "ja":    { greeting: "こんにちは", farewell: "さようなら" },
};
// 漏了某個語言?TypeScript 報錯。多了不存在的?也報錯。ReturnType<T>——偷別人的型別
第三方套件的函式沒有 export 回傳型別?偷就對了:
function createConfig() {
  return { apiUrl: "https://api.example.com", timeout: 5000, retries: 3 };
}

type AppConfig = ReturnType<typeof createConfig>;
// { apiUrl: string; timeout: number; retries: number }

// 搭配 async 函式
async function fetchUsers() {
  const res = await fetch("/api/users");
  return res.json() as Promise<{ id: string; name: string }[]>;
}

type Users = Awaited<ReturnType<typeof fetchUsers>>;
// { id: string; name: string }[]
Extract / Exclude——從 union 裡挑
type HttpMethod = "GET" | "POST" | "PUT" | "PATCH" | "DELETE";
type SafeMethod = Extract<HttpMethod, "GET">;      // "GET"
type UnsafeMethod = Exclude<HttpMethod, "GET">;     // "POST" | "PUT" | "PATCH" | "DELETE"
Utility Types 就像工具箱裡的板手——你不需要全部認識,但遇到對的螺絲時拿得出來就好。下一篇我們來聊泛型和 Type Guard,那才是 TypeScript 真正讓人上癮的地方。
系列文章
- (一)命名轉換和 Utility Types(本篇)
- (二)泛型和 Type Guard
- (三)Conditional Types 與實戰整合